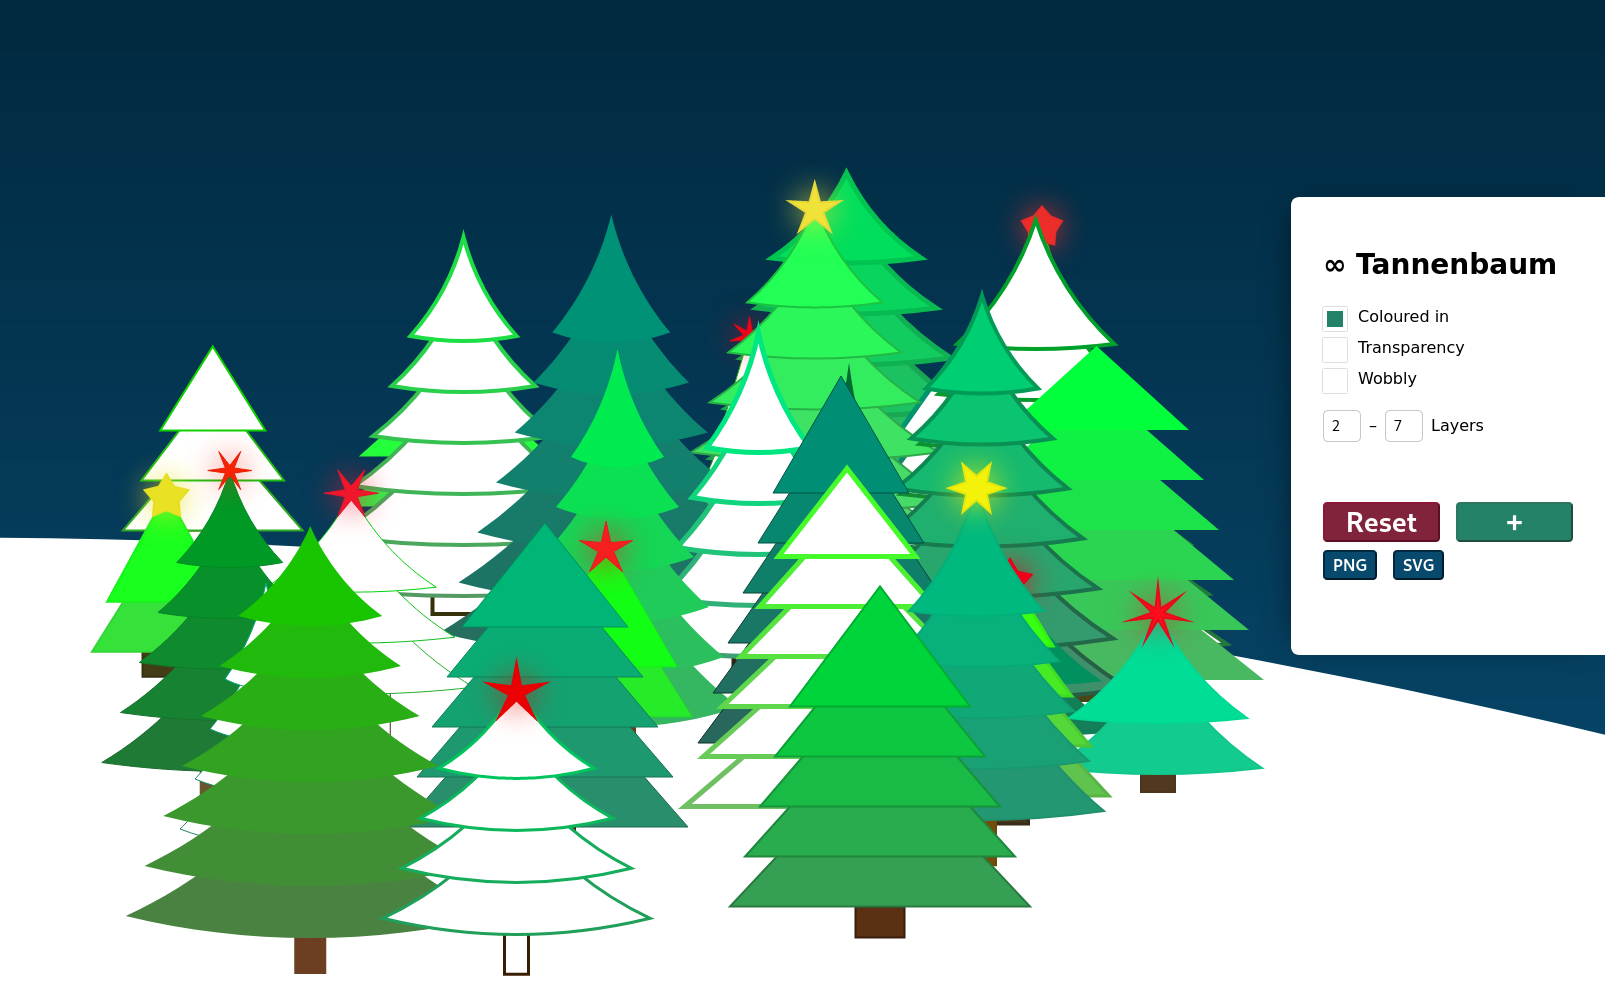
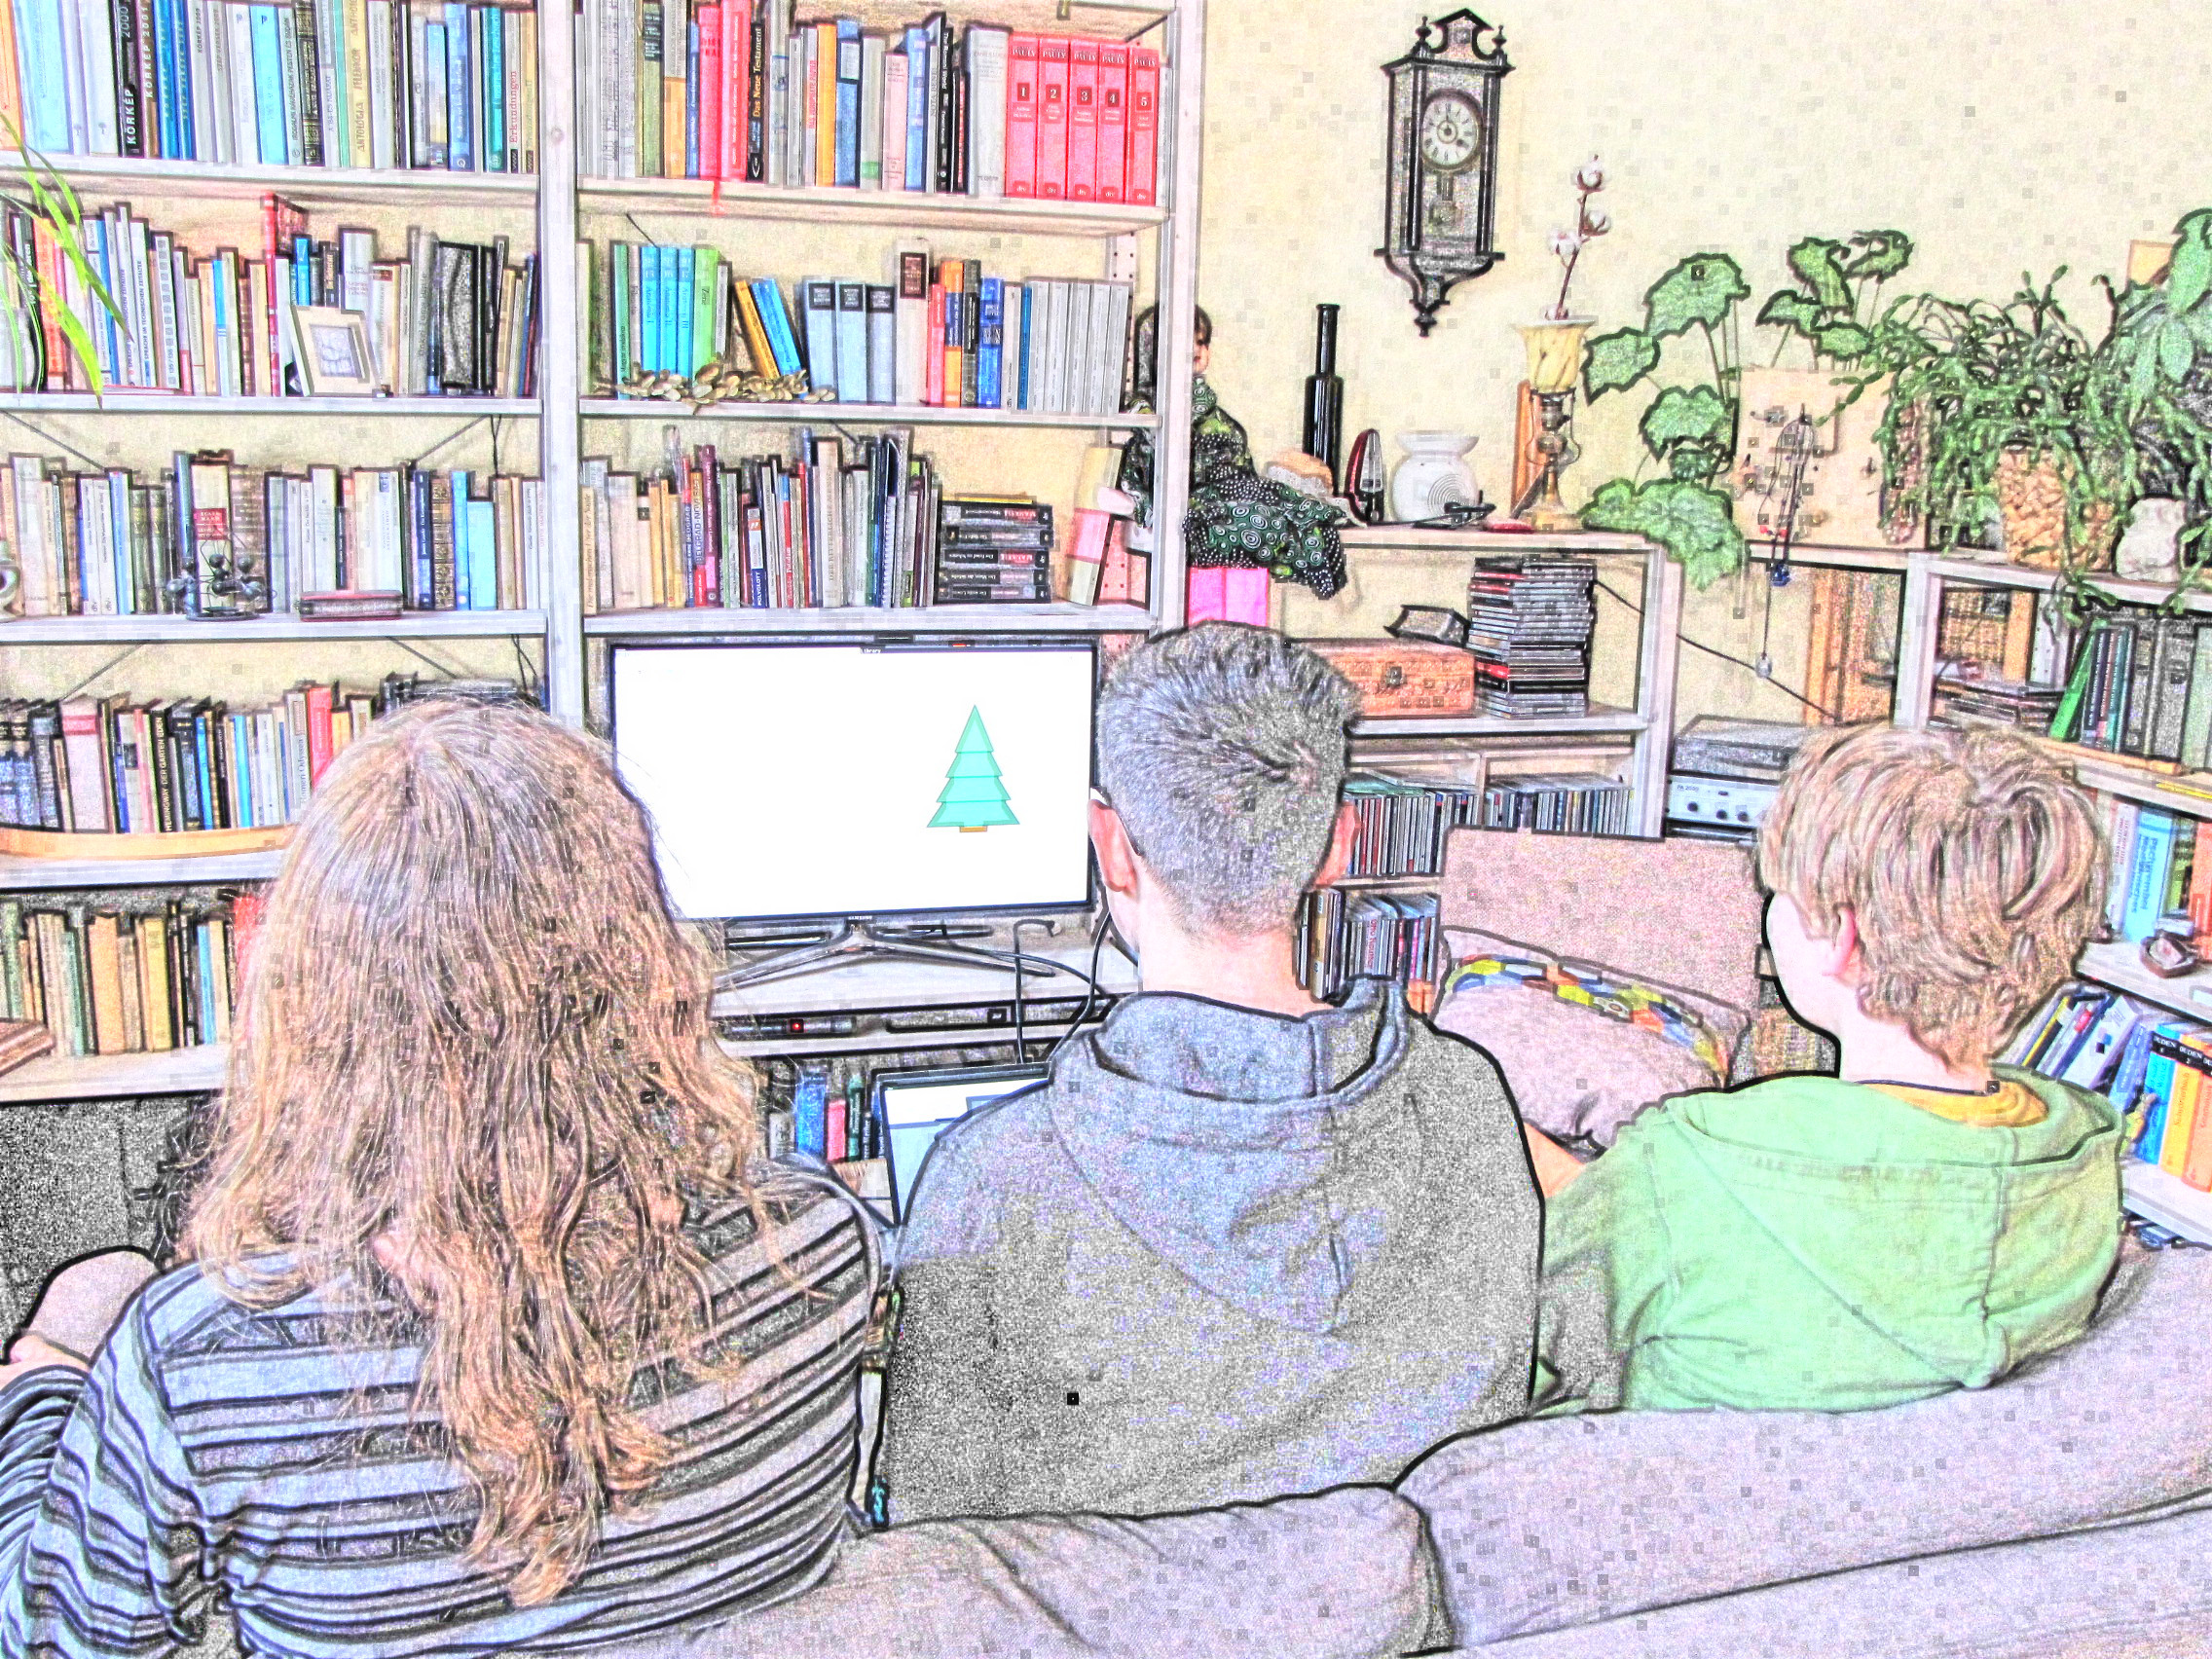
On the first Sunday of Advent, my siblings (13 & 15) and I got busy building Christmas trees – but not out of wood! We
made generative art. You can see the result at 🎄.rixx.de (fallback for the less
unicode-savvy: ootannenbaum.rixx.de), where you can generate your own random Christmas
trees.
That's already pretty cool, in my admittedly biased opinion. What's even cooler though is how we got there: While I did
all the typing, everything else was a collaboration. All the research, ideas, testing, calculations that went into this,
roughly four hours of joint generative Christmas. What we did can work for others, too, so this is a writeup of what we
did, how this works, and how to tackle generative processes like these. It's much easier than it may look if you haven't
done something like this before!
Resources
First of all: You can look up all the details of how the Christmas tree is made. This
file contains all the code, and it's heavily
commentated (close to be its own blog post). The comments walk through the code and explain in plain English what's
going on. If you leave out the ".en" in the URL, you'll find the same in German (which is the version we actually
wrote).
If you haven't done anything remotely similar before, there is a great
introduction in German by the equally great
bleeptrack. This is a similar talk in English.
You'll find more links and resources at the end of this page.
Prior knowledge
What level of prior knowledge do you need to build something like this? Don't worry, it's not all that much! A bit of
perseverance or knowledge of a bit of any programming language or somebody who can program and is willing to help
you should show you through. If you don't know anybody who can help you, look for local hackerspaces, programming
courses, or ask around online when you hit stumbling blocks. Given concrete questions, there should be people around who
can help.
For reference: my brother is 15, has learned some Java (and a tiny bit of HTML) at school, and had no problems following
our progress. My sister is 13, and has no programming experience at all. She still understood what we did as well,
especially the design and work on the parameters to get to a balanced result.
Process
When starting out with a generator like this, it's best to start simple: Think of the basic form hidden in what you're
trying to do, and try to get it to show up in the live editor at sketch.paperjs.org.
For example: to draw a rectangle, you can copy the code below and click the “run” button at the top:
var rectangle = new Path.Rectangle(new Point(100, 100), new Size(200, 300));
rectangle.fillColor = "red";
rectangle.strokeColor = "black";
rectangle.strokeWidth = 5;
rectangle.rotate(45)
As somebody who speaks English, you have an advantage, because this is pretty self-explanatory for you. It draws a
rectangle at the coordinate (100, 100). Note that (0, 0) is the top left corner. The first number is the x value, which
changes how far something is moved to the right, and the second number is the y value, which moves elements further
down.
The rectangle takes up 200x300 pixels, and filled with red colour with a 5 pixel black border. Finally, we rotate it by
45°. Now try to play around with it a bit! You can read up on all the other possibilities in the
documentation. Don't worry if it's hard to read at first, that's completely
normal when approaching technical documentation. It's best to get started by reading the documentation for some part
that you know already, to figure out the structure and language. For example, search for
“rotate” to see the description of the rotation of an object.
For our Christmas tree, we started out by drawing triangles on top of each other. So we had to figure out the triangle
coordinates, so that the point on top was centered between the other two. We started out on paper to make sure we
understood the coordinate system, and then transfered our result to the paper.js editor. Then we played around with the
numbers until we could draw first one, then several triangles.
Advice
The most important piece of advice is: proceed in very small steps. After each change, take a look at the results
and if they match your expectations. The nice thing about a graphical project like this is that you can see if your code
works as expected, and if it doesn't, the results are often very funny. More than once we generated trees that were
unreasonably tiny, or huge, entirely transparent, or upside down!
Small steps could be: Draw one element. Draw another element. Add colour. Add a third element in a different colour.
Change the width of the element. Make the width random. Make the amount of elements random. And so on.
The second most important piece of advice is: learn from others. The vaaaaaaaast majority of problems in this area
have been encountered and presumably solved by others. It's good to try on your own at first – that way you learn more
about the problem and its complexities. But if you can't find a solution soon, instead of growing frustrated: Search
(e.g. on GitHub) for people with similar code and hopefully solutions. We did this a couple of times – for instance, the
code to export the generated trees to PNG and SVG images is taken directly from a similar generator by
bleeptrack. And now you can look up similar things in turn in our extensively commented code.
Randomness
After some time and experimenting, you'll end up with a drawing. Now you can add in the part that's the most fun:
Randomness! It's not terribly easy, but a lot of fun, and will reward you with unexpected results.
JavaScript has a function named Math.random(), which returns a long number between 0 and 1. We built a small helper
function which returns a random number between its parameters:
function randomNumber(min, max) {
  // This function produces a random number between min and max.
  // Min is inclusive, max is exclusive.
  return Math.floor(Math.random() * (max - min)) + min;
}
Feel free to copy this function, because building on this it's way easier to get started. Now you can do things like
make your drawing between 100 and 300 pixels wide, or make it rotate by 45°-90°. You can also use this like dice or
throwing a coin to choose between different features. We only draw a star on top of our Christmas tree for two out of
three trees, by calling randomNumber(0, 3), and only drawing a star if the result is not 0.
Colour
The size of a drawing is the best first approach to randomness. It will make you think about some measurements some
more: If parts of your drawing border a random part, they need to be positioned correctly, so you'll have to add some
calculations for that. If this gets boring, you can also vary the colour.
Colours in paper.js and in many other digital systems are made up of three parts: red, green, and blue (the RGB
system). These values are often on a scale from 0 to 255. paper.js uses values between 0 and 1 instead – but because I
found it harder to reason about small numbers like that, we chose numbers in the [0, 255] range and divided them by 256,
instead. This is how we determine the green colour of a tree:
var red = randomNumber(0, 100) / 256
var green = randomNumber(115, 255) / 256
var blue = randomNumber(40, 130) / 256
triangle.fillColor = new Color(red, green, blue)
So how do we find these colour ranges? How do we know that our red value should be between 0 and 100? If you search for
Colourpicker in the search engine of your choice, you
should find an interactive colourpicker, often as part of the search result page. If you move the colour point in the
area that looks good to you, you can pay attention to the way the three values change, and which range is appropriate
for each of them. This is way easier if you're not alone, by the way, because one of you can focus on moving the point
in a good colour space, and the other can write down the values. Afterwards, you can finetune the colours, e.g. if
you notice that your colours tend to come out too blue, you can reduce the upper limit of your blue range.
Further reading
And this is how you can get started with generative art! I hope this helps to get you (or people you know) started. Have
fun!
This is a list of sources and further reading:


