Badge Manufacturing Howto
This year, I had the pleasure of running DjangoCon Europe in Heidelberg, as part of a wonderful team. As a part of our effort to make DjangoCon Europe feel special, and to make our attendees feel welcomed, I decided to manufacture the badges for nearly 400 attendees myself. This is my story in eight simple steps. (Sing to me of the man, Muse …)
0. Run a conference
DjangoCon Europe is run by a new group of organisers in a different country each year. If you're interested in running DjangoCon specifically, have a look at this blog post and talk to me beforehand. You can of course also manufacture badges for other events than conferences – provided the group of people you're doing this for has submitted their names somewhere, and the names will be sufficiently known (and stable) about three to two weeks prior to the event.
1. Choose the method and the material
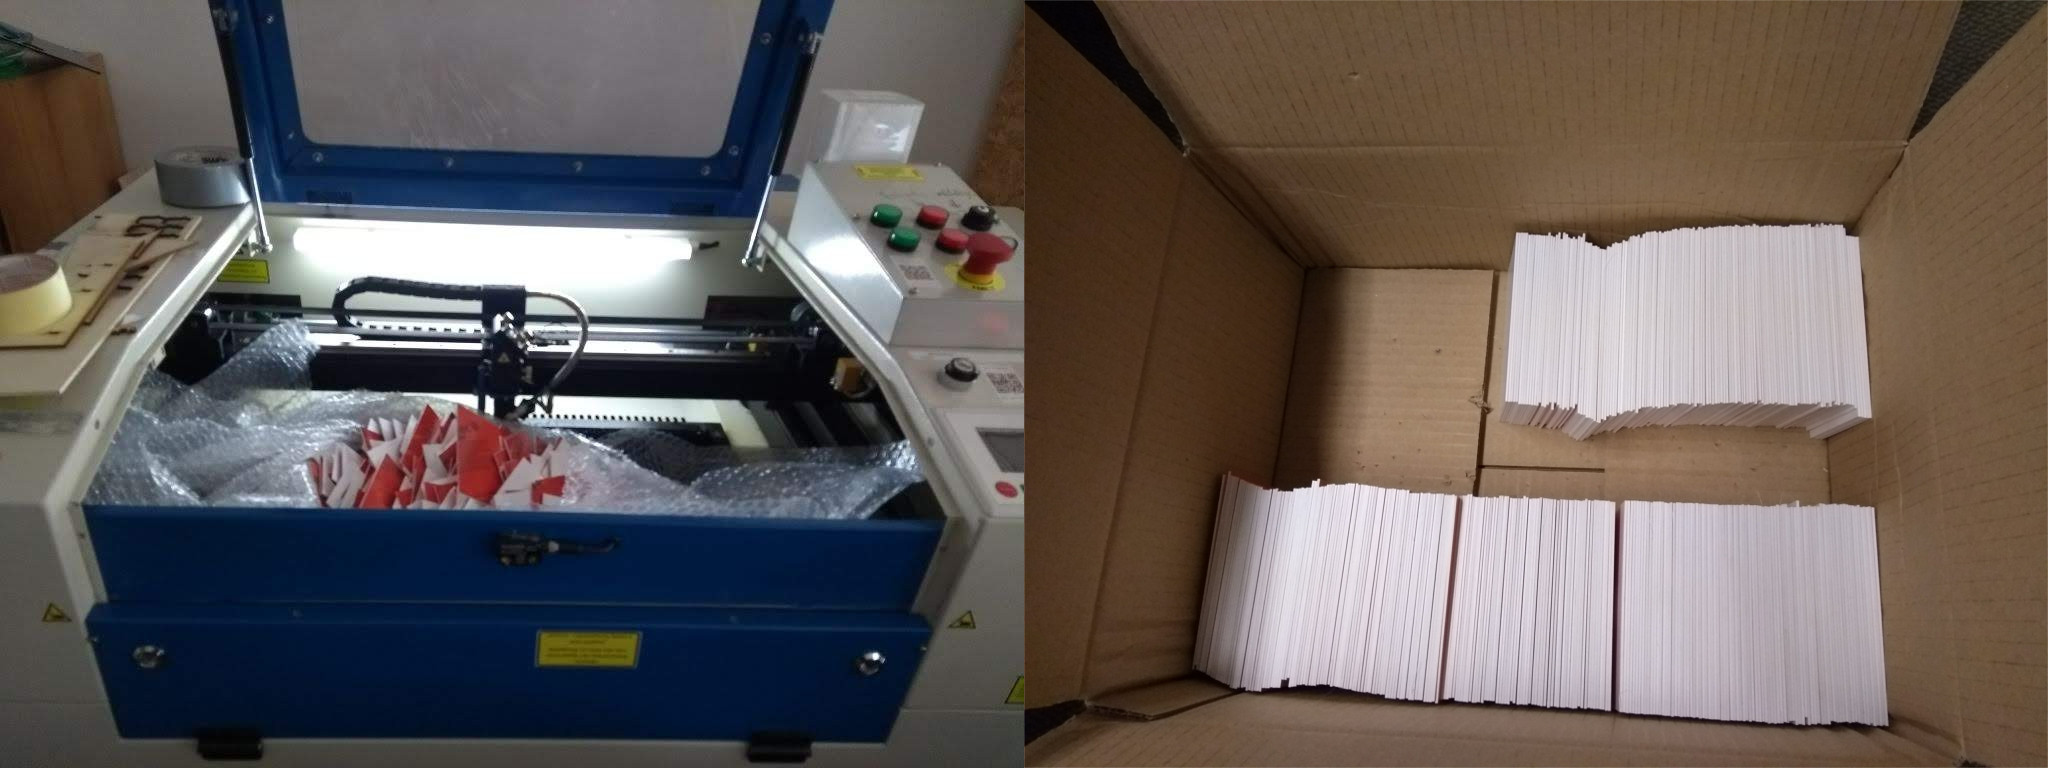
Via my hackerspace in Stuttgart, I have access to a laser cutter (Sabko 6040 Class I), so this was a clear choice as a tool of mass production. Our laser cutter packs 80 W, which means it can cut and engrave wood and suitable plastic materials up to a reasonable thickness, and can also engrave some metals and glass. Engraving on plain acrylic is not that interesting due to poor contrast, but a friend recommended a supplier of two-layer acrylic called TroLase that even came in our conference colors. The trick here is that the upper layer in the first color (in our case orange) is very thin, so even a little engraving will free the second layer (in our case white).
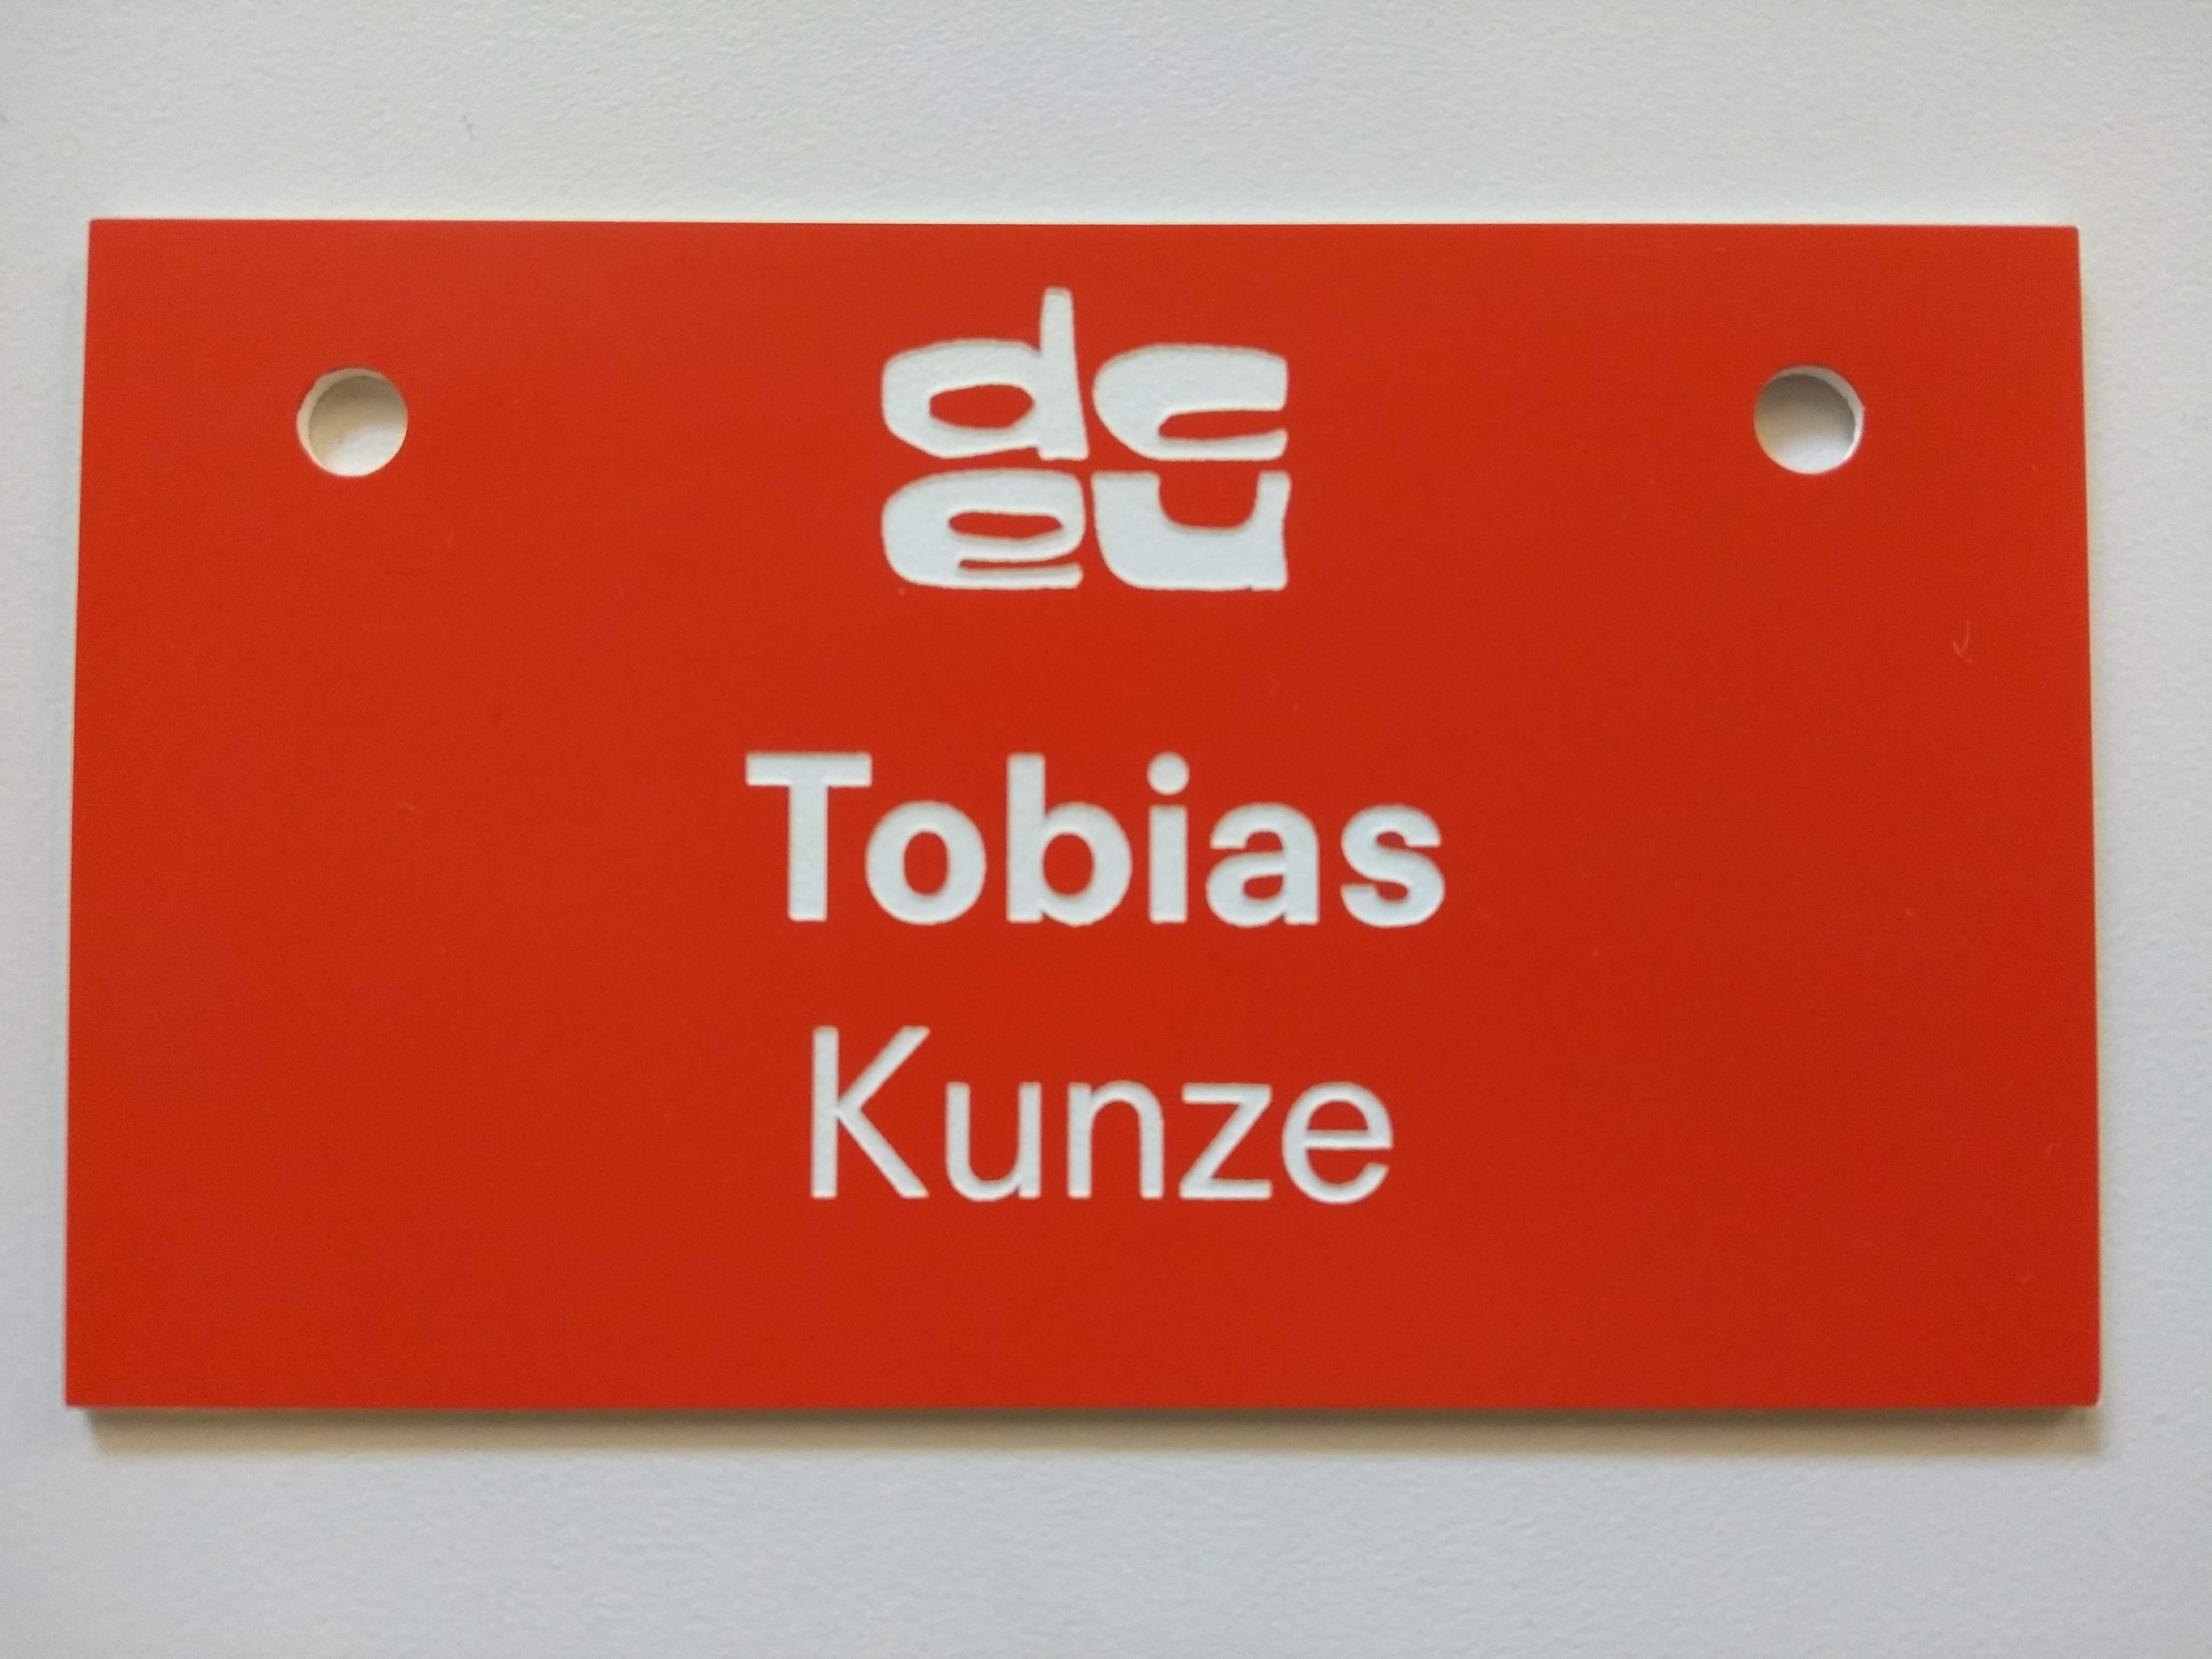
I ordered sample materials in 0.8 mm and 1.6 mm thickness. I verified that the material worked well with our laser (don't forget this step!), and worked out what size the badges should be. I decided to go with the 1.6 mm thickness, since it felt more stable and like a serious badge – although the 0.8 mm thickness was remarkably flexible, and didn't show any signs of stress even after a lot of bending. In the end I ordered 450 badges, cut to size (110 mm x 65 mm), where 50 cards were our margin of error. All non-erroneous cards were to be used as spares for attendees who signed up late or changed their name too close to the conference.
2. Process the data

We were using the excellent open source ticketing system pretix for DjangoCon Europe, which provides a variety of exports, among them a CSV export. Since the tool we are using to send the correct paths to our laser (in G-Code) can read DXF, and Inkscape can convert SVG to DXF, I chose SVG as a basis, since I felt neither able nor willing to generate G-Code or DXF directly.
I wrote a script that can be configured with a list of two-part strings, a number of rows and columns, badge sizes, and a font. It then renders those strings in the font as SVG, transforms them to paths, and centers them on the badge location. If you input 20 names, and configure five columns and two rows, it will generate two separate svg files. (Since I only updated the attendee lists twice, I ran a diff(1) on the CSV exports. )
3. Optimize the workflow
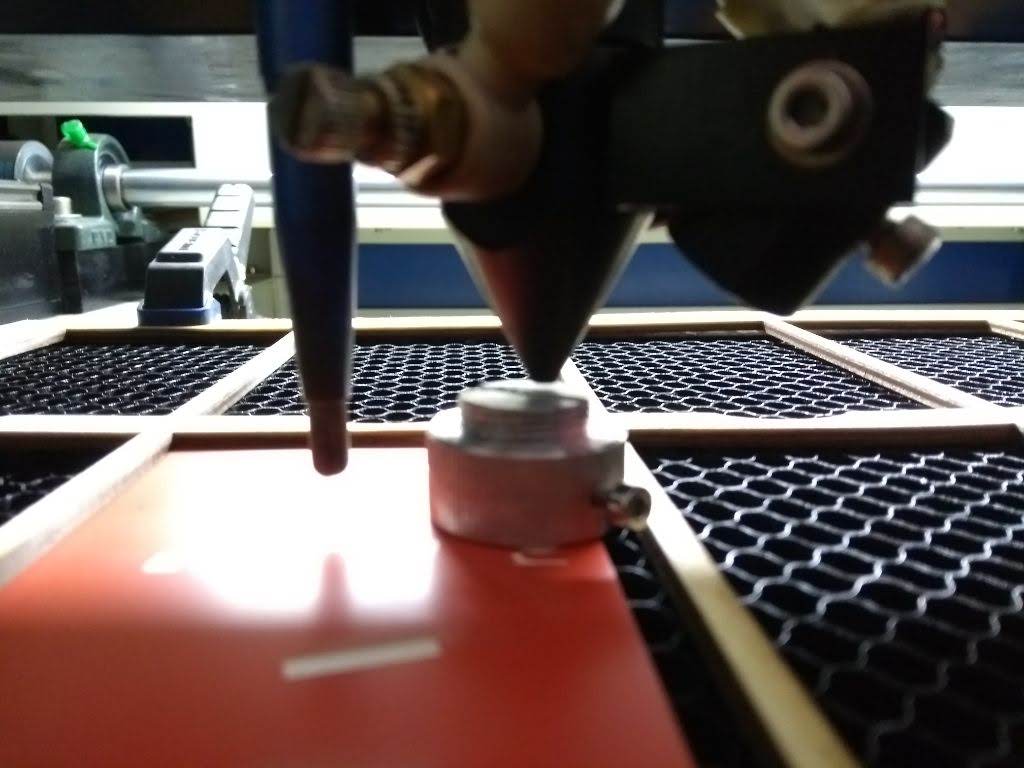
Next up, Christian (who helped all the way through the project) and I optimised our workflow. This involved:
- Making a frame that could hold 3 x 7 cards at a time for fixed positions and distances.
- Finding a way to fix that frame to the laser.
- Find the optimum parameters for engraving (for reference: 300 mm/s at 10% of power)
- Find out that a reduced line height of 0.05 mm results in better results (at the cost of nearly twice the laser time)
- Find out that when we rotate the badges by 90 degrees, we get smoother edges on most letters.
- Discover that the laser software did horrible on path optimization and fix the paths manually for each batch, resulting in a reduced laser time of about 60%.
4. Laser badges
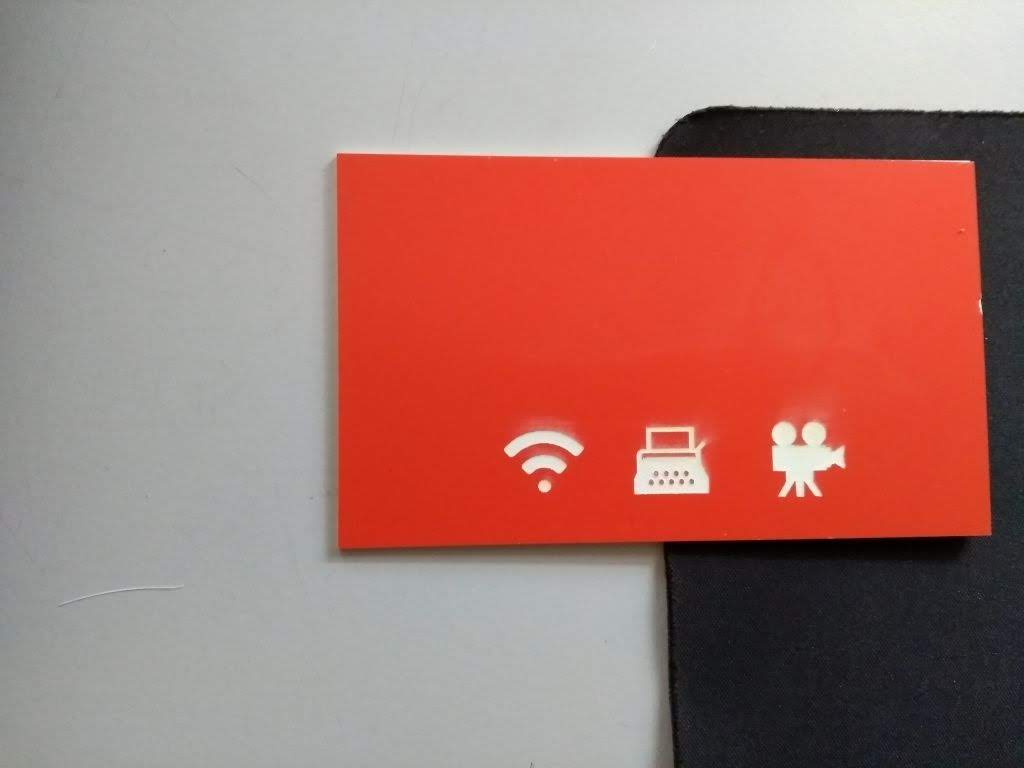
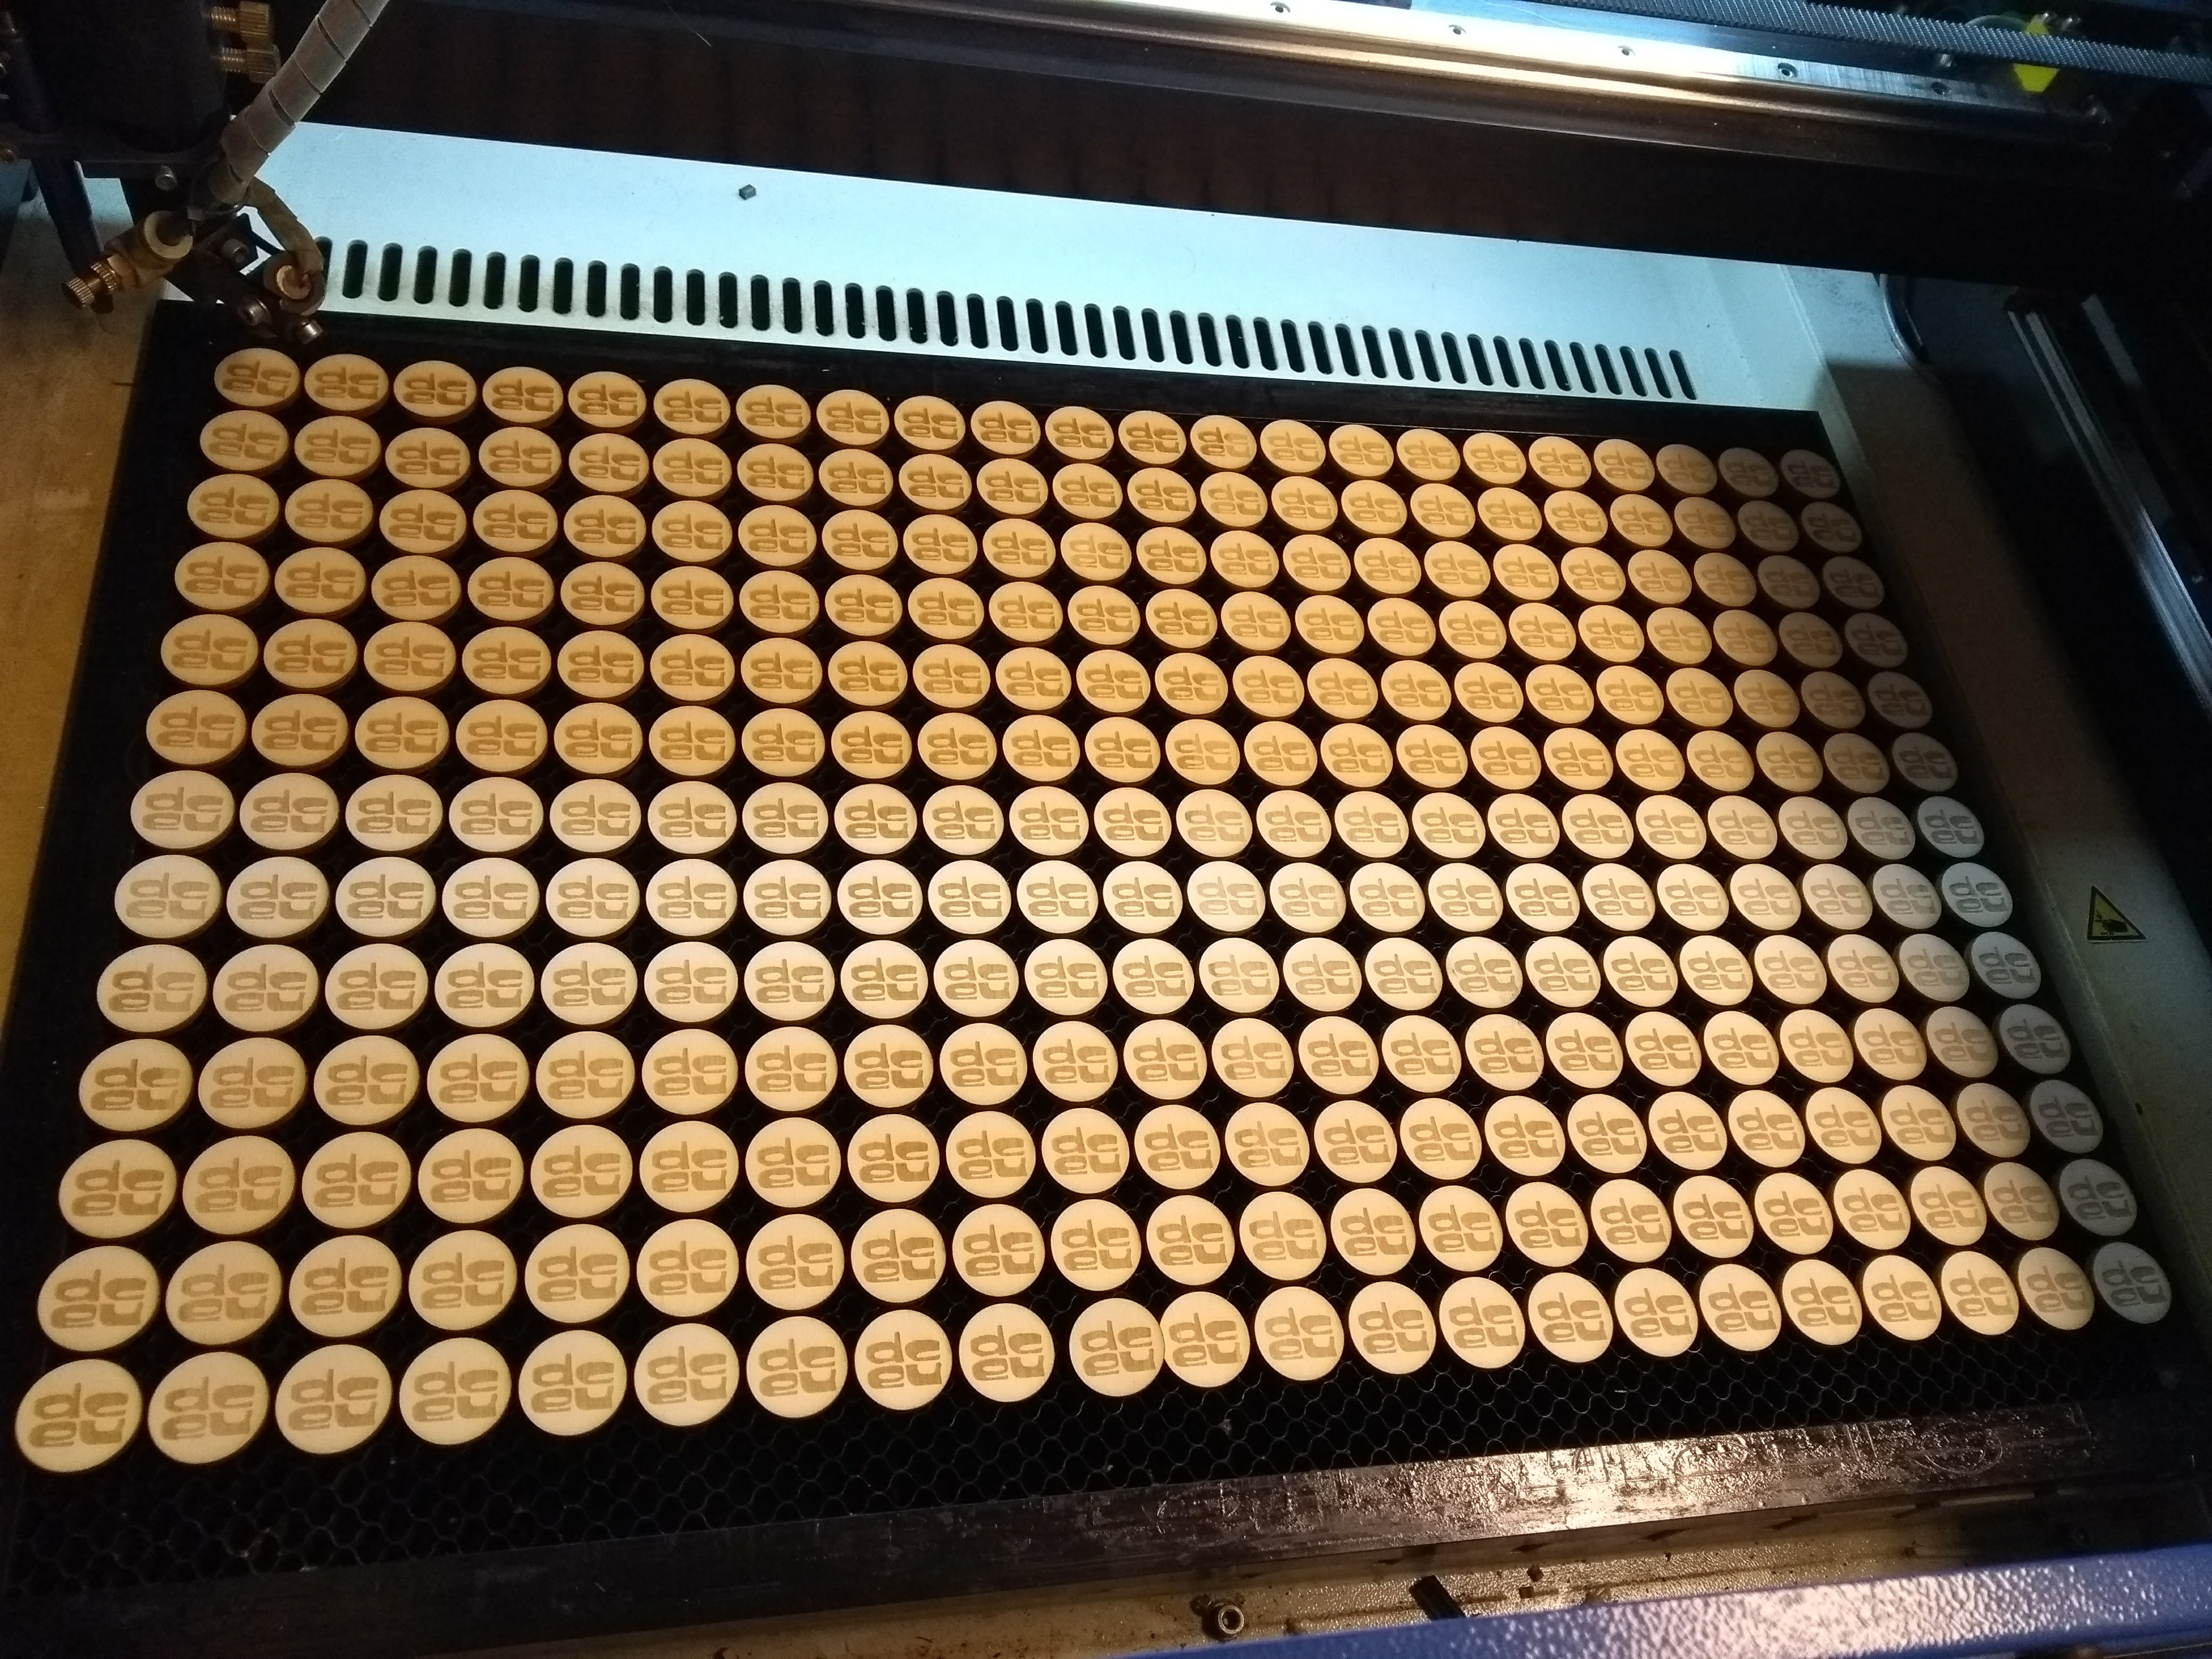
Every batch of 21 badges took about 50 mintues to laser. Including the time it took to put the badges into the laser, collect them again, and start the laser on the next batch, let's just say it took an hour per batch (or about three minutes per badge), which resulted in about 19 hours of laser time. Before we could start, we needed to pull off the protective foil off every card, but that was usually done during the laser was running.
4a Break things
We had some things go hilariously or horribly wrong:

- Some very few attendees had letters in their names that our font did not support (so I layouted them by hand).
- The laser needed frequent adjustment of its mirrors, which is a fairly slow, manual, and precise process.
- Parts of the laser just fell off during operation (yeah, lots of fun) and we needed to straighten them again and fix them pretty permanently in the machine.
- People changed their names rather close to the deadline.
- We lost nearly a full batch of badges due to having started with a slightly wrong point of origin leading to noticeably asymmetric badges.
But the general process of using a frame for alignment and generating files to match it was pretty good.
5. Post-processing
You'd think after engraving 400 badges, the work would be over – not so. There is a range of post-processing steps. Engraving works by removing excess material, and while the TroLase material is optimised for lasers, there were still some residues on the cards that needed to be cleaned with alcohol-based cleaning fluid. After doing that for 400 badges, the air in our workshop felt … flammable.
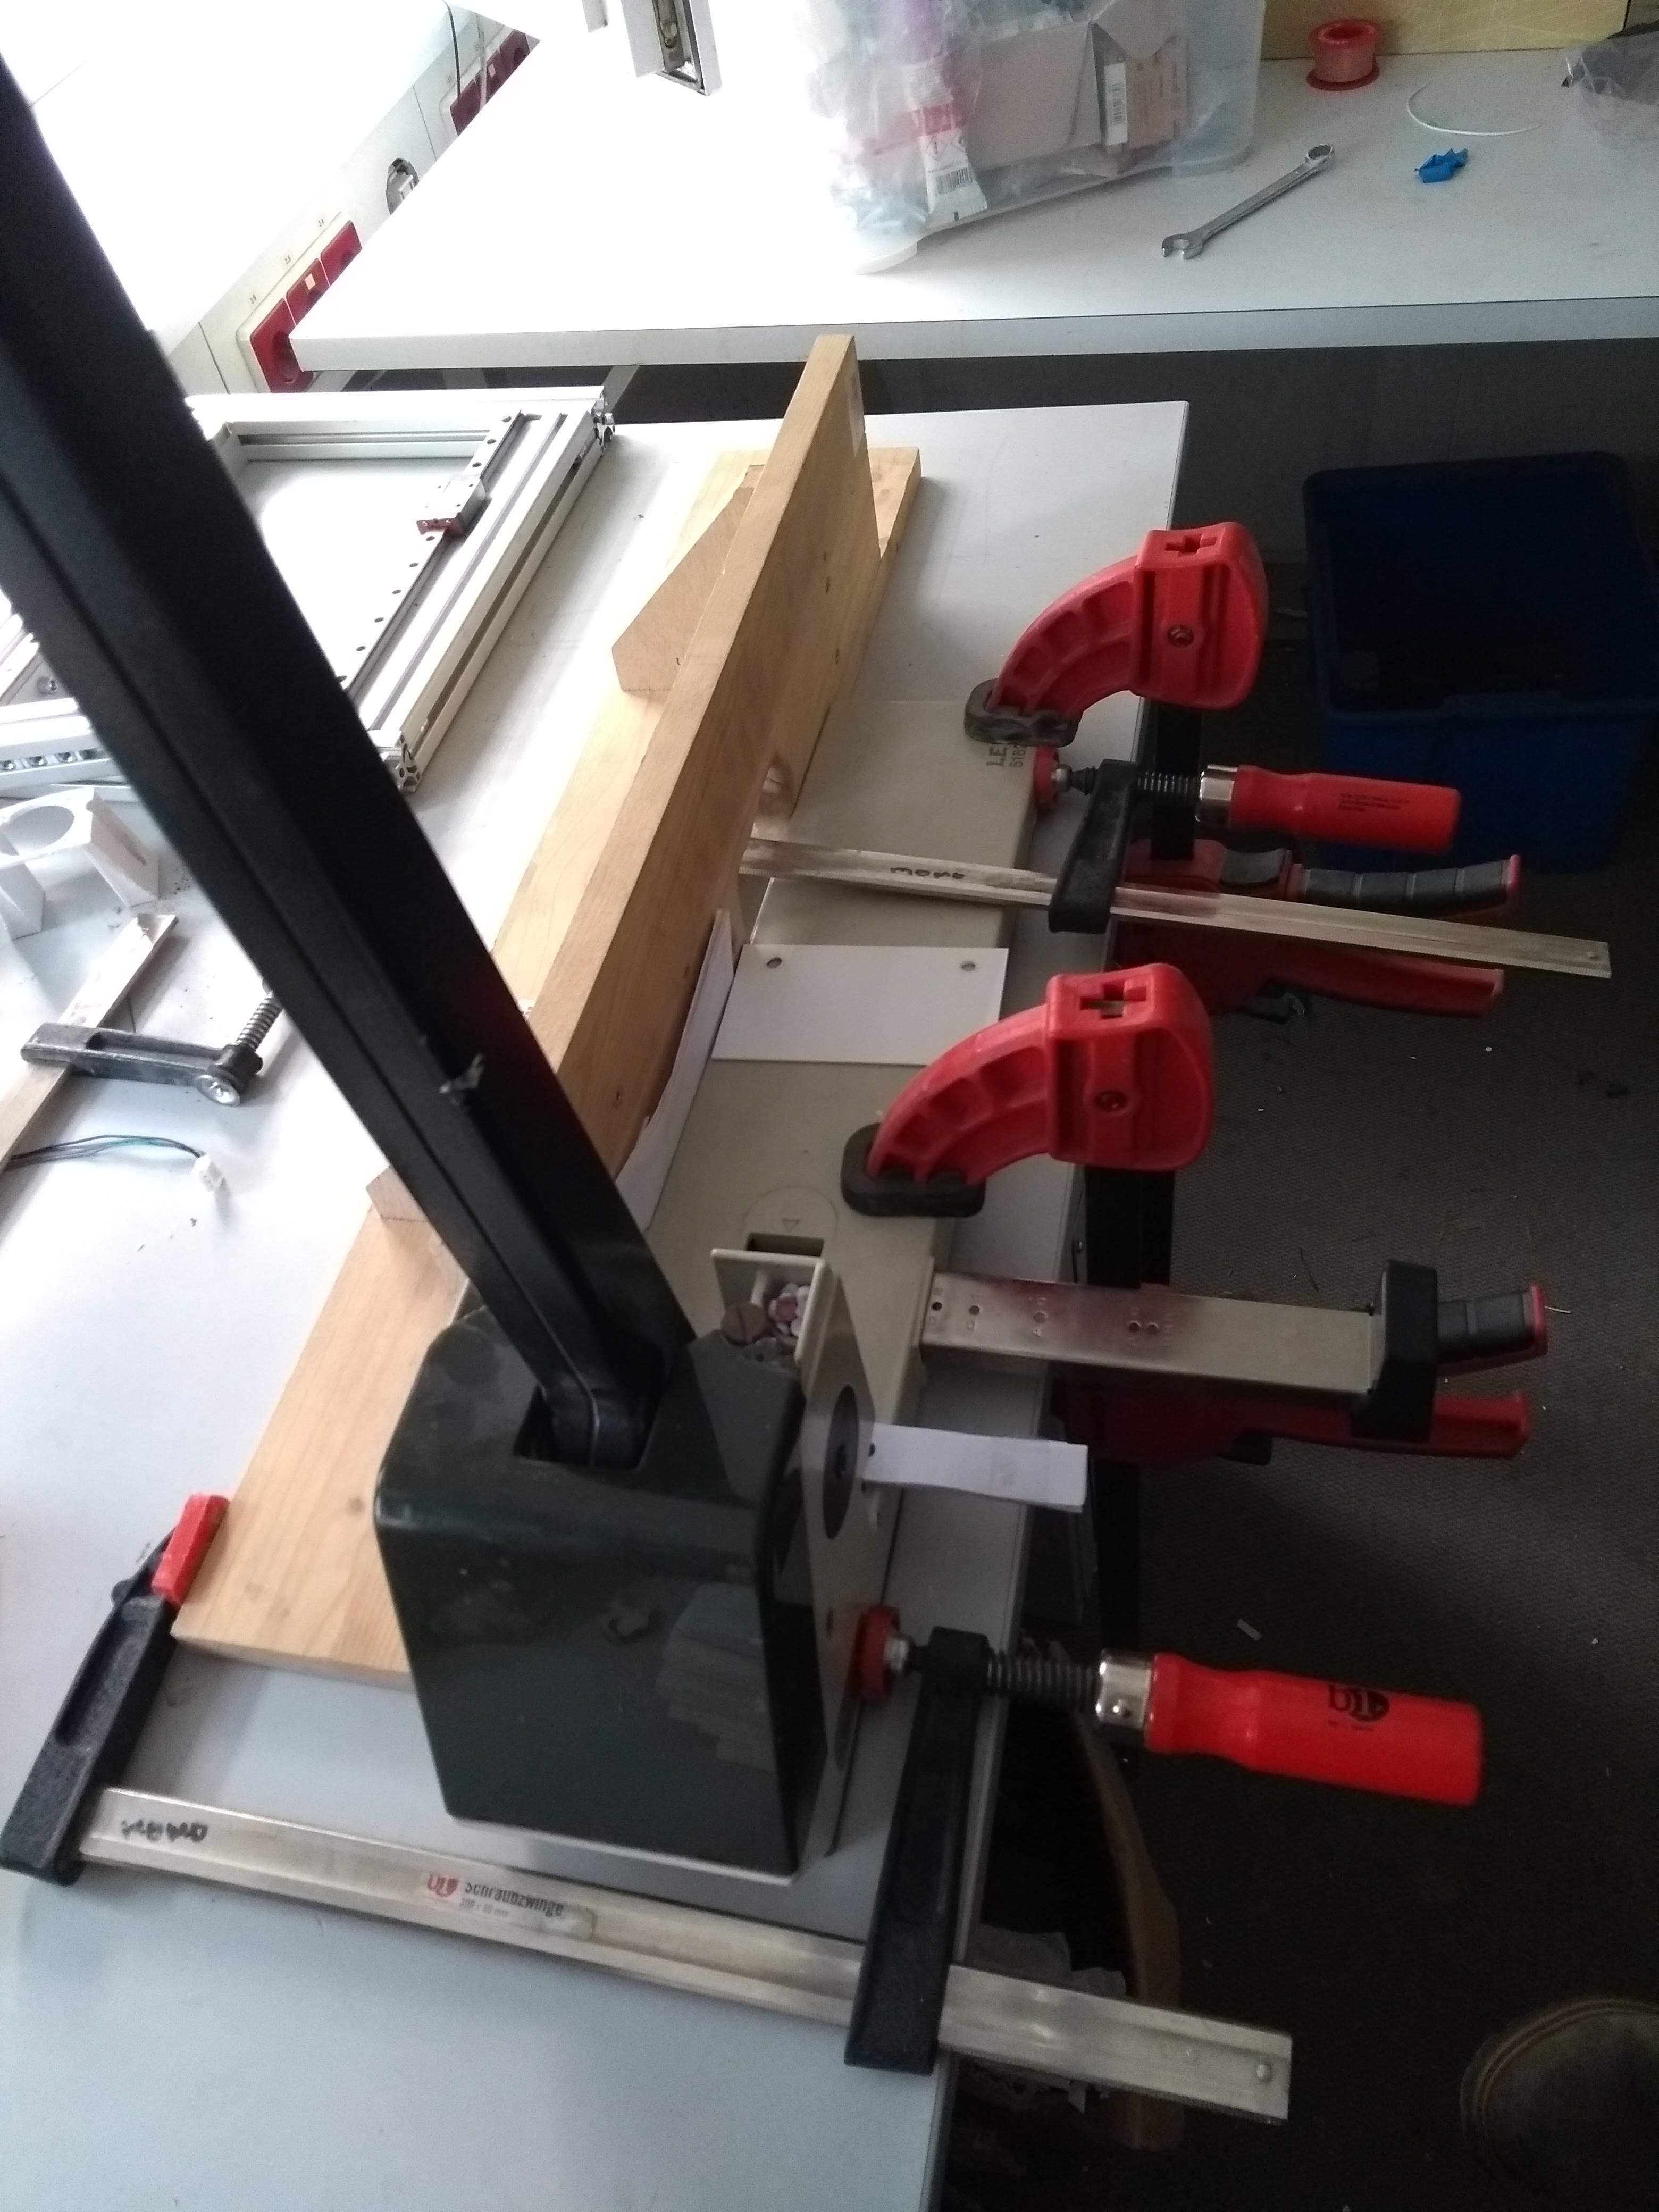
Once the badges were clean, we still needed to punch holes into it. We chose to use two holes, which prevents the cards from turning – basically, badges either need the names on both sizes or two holes to ensure they don't turn around constantly. After the holes were punched, we also needed to sort the badges alphabetically – because while we started out with sorted signs, with three to four steps of work in between, they didn't always end up sorted.
6. ???
No project stands on its own, no project is a one-person-show. So I'd like to thank:
- Christian for figuring out the laser with me and doing about half of the actual work.
- rashfael for helping me write the script generating the SVGs, and teaching me about SVG and modern JavaScript on the way.
- The DjangoCon Europe organisers for trusting me with this.
- Raphael for helping design the badge.
- Nathalie for providing the artwork for DjangoCon Europe.
- Fabian for telling me about the material and giving hints for how to handle it.
- shackspace for providing the laser, and the hole puncher, last-minute rescue materials and being a great place to work at.
- The inkscape team for providing a converter from SVG to DXF.
- shrhdk for developing text-to-svg.
- The Django developers and the Django Software Foundation for providing a reason and an opportunity to run the conference.
- My employer for giving me the time to organise DjangoCon Europe and pull stunts like this.
7. Profit
People liked the badges, although some noted that they managed to scratch themselves on the rather sharp corners. Maybe cutting out the badges themselves instead of ordering them cut to size would have helped, since we could have chosen rounded corners then. People also expressed interest in the manufacturing process, hence this blog post.

